9.16.2014

Ah! I'm going back to middle school!

I can't believe I'm back in middle school already! I LOVED my first three years teaching elementary art, and this year I made the switch to middle school due to some switches in our district. I am so excited and I can't wait to share with you our adventures! 


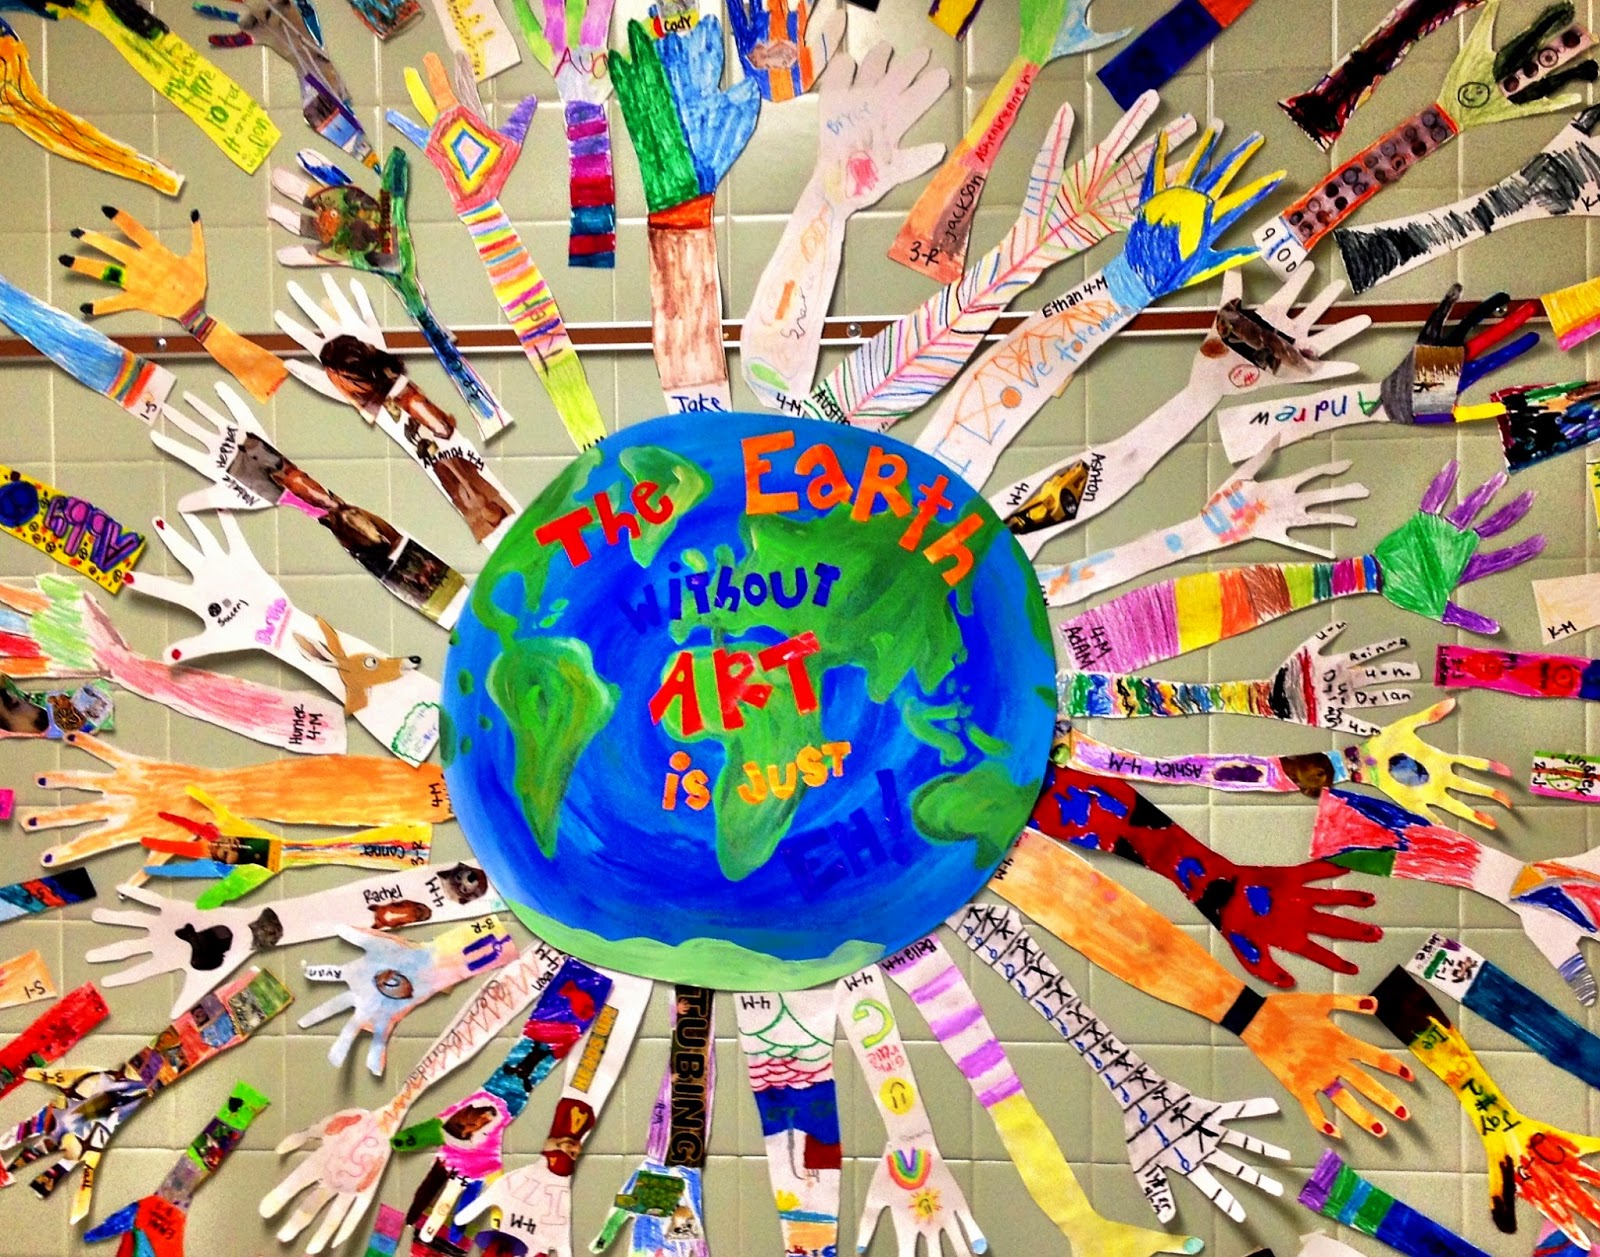
(Our school mural we made 2 years ago at Pinecrest Elementary)
 
Here we go!

8.04.2014

Artist of the Week

Artist of the week goes to Elizabeth Grube! Elizabeth leaped right into the painting world. She took a style unique to her and painted with energry! She actually went to school for interior design, which she still does. It wasn't until about five years ago that she looked to push her creative talents in the realms of painting. Now her creations are sought after around the country!

 Elizabeth Grube

Northwoods Sunset; 11x14


I admire Elizabeth. She only started painting recently and now her paintings are wanted everywhere! It makes me want to gather all my energy and establish myself as an artist and not just an art teacher.


5.17.2014

Chalk and Sunflowers


If you are looking for a fantastic one day lesson for spring here you go! My kids love getting messy and chalk is a perfect fix for that! 


Camouflage Lizards


4th graders are working on camouflaging lizards into the walls! A fantastic end of the year art lesson! These artists are doing such a gret job! Here are just a few examples! 


4.29.2014

Imaginary Birds


So excited abouts these 3D imaginary birds inspired by Barbara K! The kids did so well! 


4.28.2014

Art Treasure

I found this beautiful drawing on my desk this morning inspired by our perspective drawings. Wow! Too bad there's no name for the fame...

4.07.2014

Positive and Negative

Positive: this art display stayed up for 3+ months!

Negative: i had to take it down.

Positive: it made room for new artwork!

Negative: my big sign didn't make it.


The kiddos loved this project! I spent 3 weeks studying positive and negative space with 4th grade. First we made notan designs usin complementary colors, then we made positive and negative trees where the tree stayed negative and the background became positive! 

Art Show Prep

Get out that masking tape and get ready to roll- haha!

Ufta! Somedays I feel like I have a minor in tape rolling. Between volunteers and student help I still have two grade levels artworks to tape onto butcher block paper for the art show... It always gets done some how right?! 


Looking good!


3.29.2014

Adventure Under the Stars Night!

AH! I am SO excited about our 2nd Annual Adventure Under the Stars Night, and my 3rd Annual Spring Art Show! This huge event will take place April 10th so I'll get more pictures and information about the event up then. Until then here is my start on the show and promoting the event.


Tip #1: students come to your class room every day so advertise on your door or inside your classroom. GET THEM EXCITED!!
 
 I did a panoramic view and no my sign does not have two i's in announcing but the panoramic made it seem that way ;) 
 
Tip #2: The BIGGER the BETTER... maybe not, but I sure think so.
Tip #3: COLOR
Tip #4: Adding something that is not flat but hanging or 3-D

My Favorite Gem- FEATURED ARTISTS!

It's your lucky day because I'm sharing my favorite art room GEM! 

THE FEATURED ARTISTS BOARD

I LOVE, LOVE, LOVE this board and my students do too. 


I am all about giving every student a chance to be an artist in the spotlight!

 I like the idea of an artist of the month, because it features great qualities your students hold. However, there will always be students who have those qualities but never get picked. I believe that factor shouldn't hinder their dreams of being a great artist. So instead I have the Featured Artist Board!

I created the Featured Artists board for many reasons. The three most important reason being: raising student self-esteem, encouragement, and of course art appreciation. I also use the Featured Artists board to help with classroom management. At the end of the class time I'll pick students who did a great job, or if there is time the students can nominate others they thought did well. My students can't wait for their turn to be Featured Artist, because of this I see many students go up and beyond my expectations. Don't get me wrong I expect students do well every art day, but this board is a little more motivation for them. It definitely gives them a sense of appreciation and accomplishment- a feeling that it is their time to shine! 

My FA board is right outside my room and the cafeteria. I love the location because if there is a extra 2 minutes left of class we can go look at the board- striking great conversations. It also gives students artwork to look at while they are waiting in line for their lunch. 

So how does the Featured Artists board work?
Let me explain!!

Materials Needed:

  • Butcher block paper
  • Fun boarders
  • FA sign 
  • Signs for each grade you teach
  • Laminated objects to put artwork on (I have picture frames cut out of construction paper)
  • 4"x 4" drawing papers
  • FA award to give students when it is their turn for FA
  • A little description you can attach to the award, or put on the award to tell parents what FA is
Understand, making this whole system is time consuming, but worth it. Just make it your own and it will be successful! If your not organized it's going to be more of a pain than something fun and exciting for the kids. When I came up with this idea it was my first year of teaching. I had so much on my plate and as a result I never got the FA system that organized. Instead I just jumped into it, and it ended up being more of a hassle. Since I wasn't as organized as I should have been some students never got the chance to be FA. I made sure to change that for my second year of teaching. Below are some steps to help explain the system and how to set it up!

How does FA board works:
  • First make your FA board.
    • Put up butcher block paper as a background for each grade you teach.
    • Give it some pizazz! Put up fun boarders- something to give it more attention.
    • Make a FA sign and put it above the board. 
    • Make signs for each grade level.
    • Get objects to put artwork on- something that gives individuality to each students work! It should make the artwork look like it is really special! 
      • Last year I used paint buckets
      • This year I am using unique picture frames that I cut out of construction paper. 
    • Laminate the objects and put them up on the board!
      • I have two objects per class since I pick 2 FA each FA week in each class.This gives me 10 frames per grade or section on the board.
  • Design a FA award to give students
    • Include a spot to write their name and class.
    • This year I designed a drawing on a paper copied it to card stock or heavy paper. 
    • I do this at the beginning of the year an copy enough to last the whole year! That way I have everything I need and don't have to worry about it later. 
  • Type up a little paper explaining FA to parents. Make it a big deal!
    • This could be done on the back of the award, otherwise I print out little paper and attach it to the student's award.
  • Pre-cut LOTS of 4"x 4" pieces of paper.
    • I cut all of mine for the whole year at once. Its nice because I don't have to worry about it later.... 565 papers later.
  • Attach the award, information paper, and drawing paper together. 
    • This way you can just fill out the award and hand it to the students. 
  • Decide how you are going to choose your Fa's, how often, how many, how long they will be up, and what happens if Fa's bring their artwork in late or not at all.
    • I choose Fa's every-other-week.
    • I choose 2 Fa's per class. One girl and one boy, but some weeks might be 2 girls or 2 boys.
    • My Fa's are up for 2 weeks
    • If a FA forgets to bring their artwork in and instead they bring it in a month later, than I still put it up... there are typically open spots and if not I wait until there is one. 
  • Keep a log of who has been FA. I know! It sounds like so much work, but it doesn't have to be. Record it in a seating chart. If you don't students are pretty honest if they have been FA or not.

The Process:
  • On a FA day clean up a little more early.
  • The Fa's are chosen.
  • Fill out an award for those FA and remind them what it is. 
    • I tell my students all about the FA board at the beginning of the year.
  • Fa's take home their award, and on the drawing paper they create an artwork.
  • Fa's bring their artwork back to school
    • I give my students a week
    • I like to give my Fa's a little prize for bringing back their artwork- a thank you from me! This year they get to pick a small eraser: star, heart, fish...
  • Hang up the students artwork 
  • Take artwork down and return to students
    • I have a bin of FA artwork that is ready to go home. 
      • When students have a chance they can find theirs.
  • I have 3 weeks open at the end of the year with no Fa's so the last 2 weeks I give those who did not chose to bring a FA artwork in another opportunity.

Other things about FA: 

  • In the past I've had  Popsicle sticks with numbers. Each student had a number and if they were doing their job they could put their number in the FA jar. That was the jar I drew from for the next FA. However, what do you do when you have a student who gets their number in the jar, but then has a behavior issue? I am so against taking away privileges students earn. When students earn something they deserve to keep it, and not have it taken away. At the same time I don't think they deserve FA. That's why I made the changes to what I do now. 
  • In the past I've also only had one FA per class and they were only up for 1 week. It worked well but students were so anxious for their turn. It was also time consuming doing this every week.
  • So what happens when someone has a great day, but they have already been FA? Just let them know! I created this to give every student a chance in the spot light. 

So there you go! One of my favorites! Time consuming to begin with, but so worth it!